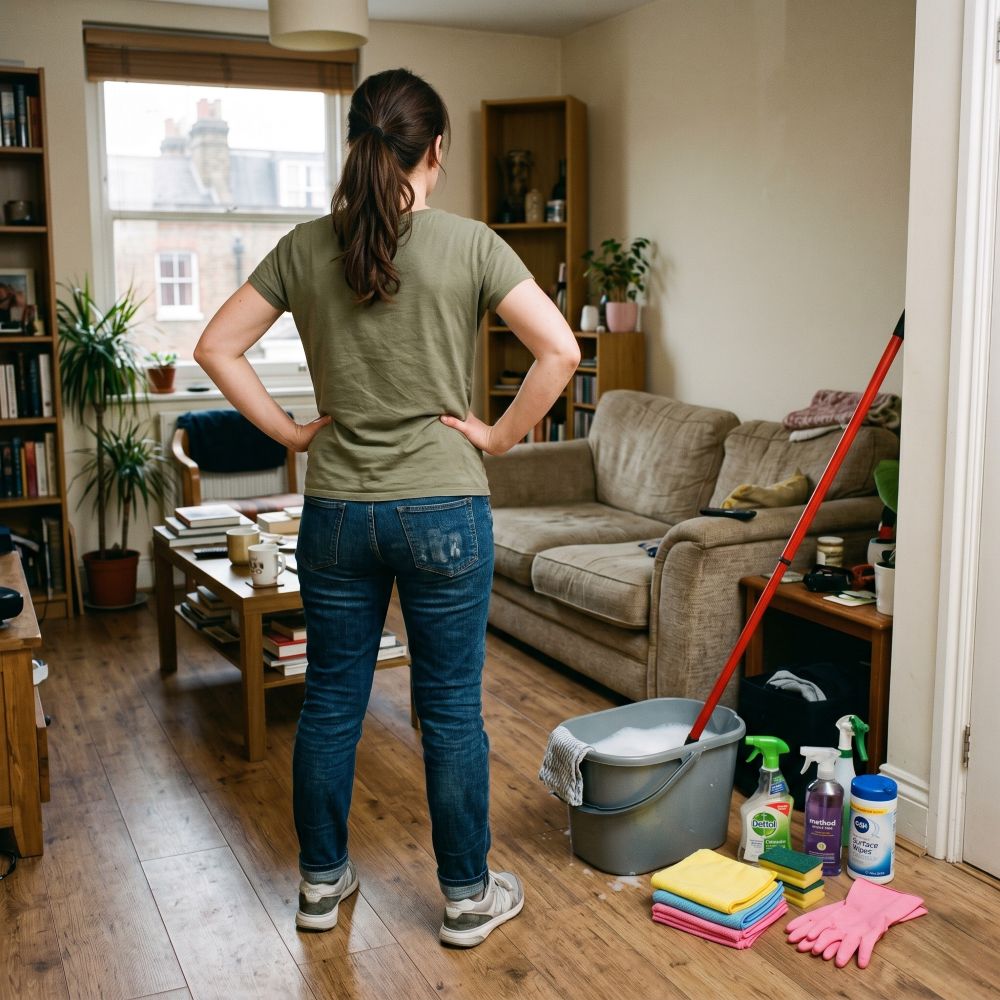
The boxes are half-packed, the landlord is already asking pointed questions about the oven, and somewhere behind the sofa lurks evidence of several years of your life that you would rather not examine too closely. End of tenancy cleaning is not simply a matter of wiping things down and hoping for the best – it is a structured, methodical process that, done correctly, stands between you and a very uncomfortable conversation about your deposit.
Why the Cleaning Order Actually Matters (It’s Not Just Busywork)
Most people approach end of tenancy cleaning the way they approach a panic: frantically, in no particular sequence, and with rapidly diminishing returns. They scrub the bathroom tiles beautifully, vacuum the hallway, then knock a cobweb down from the kitchen ceiling onto the floor they have just mopped. Twenty minutes of careful work, undone in three seconds.
Professional cleaners operate according to a principle that is elegantly simple: top to bottom, back to front, dry before wet. Every task feeds logically into the next, so that nothing is cleaned twice and nothing clean gets dirtied again. In a London rental – where inspections tend to be thorough and deposit disputes are a familiar feature of tenant life – working in the correct order is not a nicety, it is the difference between getting your money back and losing it.
Before You Begin: The Pre-Clean Checklist
Several things must happen before you pick up a single cloth. Defrost the freezer the night before – it needs adequate time to drain, and no amount of elbow grease compensates for rushing the process. Remove every last belonging from the property, because cleaning around boxes is an efficient way to miss things. Open windows throughout to ventilate the space, particularly when you are using chemical degreasers or bleach-based products.
Most importantly, have a copy of the original inventory checklist to hand and walk the property with fresh eyes before you begin. The distinction between damage and dirt matters enormously in a tenancy dispute – a scuff on the skirting board is a very different thing to a crack in the plaster, and confusing the two can complicate your claim on the deposit considerably.
The Tools and Products You Will Actually Need
A proper end of tenancy clean requires considerably more than a bottle of multi-surface spray and a roll of kitchen towel. Essential items include a dedicated limescale remover – non-negotiable in London, where hard water is a permanent and belligerent houseguest – a proper oven degreaser, microfibre cloths in quantity, an extendable duster for ceilings and high corners, a stiff grout brush, and ideally a steam cleaner, which can be hired for the day at modest cost. The right equipment does not merely make the work easier – in several cases, it makes it possible.
Step 1 – Start at the Top: Ceilings, Walls, and Light Fittings (Every Room)
The very first pass through the property should happen above shoulder height. Go room by room and clear every cobweb from every ceiling corner, dust light fittings thoroughly, and address any marks or patches of mould on walls and ceilings. In London rentals, mould on the ceiling – particularly in bathrooms and north-facing bedrooms – is almost an occupational hazard, and it needs to be treated properly rather than merely smeared across a wider area with a damp cloth.
The logic here is incontrovertible: anything that falls during this pass lands on surfaces that have not yet been cleaned. Do this step last and you will be cleaning floors twice. Walls deserve particular attention because they are a surprisingly consistent source of deposit friction – blue tack residue, scuff marks from furniture, and the ghostly rectangular outlines left by picture frames are all details that letting agents in London notice and record.
Step 2 – The Kitchen (Your Biggest Battle, Fight It First)
The kitchen earns its position at the top of the room-by-room order for a simple reason: it is the most demanding space in the property, and it deserves your full energy before fatigue sets in. The correct sequence within the kitchen is oven and extractor hood first, so that degreasers can dwell while you work elsewhere; then fridge and freezer interiors; then cupboard interiors and shelves; then worktops; then the sink and taps; then the tiles; and finally the floor.
The oven is not merely the most difficult thing in the kitchen to clean – it is statistically the most common reason tenants across London lose part or all of their deposit. Letting agents do not overlook a carbonised interior, and landlords are entirely within their rights to commission a professional clean and deduct the cost directly from the outgoing tenant.
The Oven – London’s Most Contentious Kitchen Appliance
The correct method is to apply degreaser thoroughly, allow adequate dwell time (at least 30 minutes for a heavily soiled oven, longer where necessary), remove and soak the racks separately, scrub with a non-scratch pad, clean the glass door on both sides including the gap between the panes where accessible, and rinse everything thoroughly. The back of the oven – that dark, half-forgotten corner that accumulates years of spattered fat – must not be skipped. Inspectors do look. London rental ovens possess a seemingly infinite capacity to preserve evidence of every meal ever cooked in them, and a methodical clean is the only reliable way to address it.
Step 3 – Bathrooms and Wet Rooms (Limescale Is London’s Secret Villain)
Work through the bathroom from top to bottom: shower head and rail first, then tiles and grout, then the toilet in its entirety – including behind the cistern and underneath the rim, both of which are inspected far more often than most tenants anticipate – then the bath or shower tray, then the sink and taps, then cabinet interiors, and finally the floor.
London’s hard water deposits limescale with remarkable commitment. Taps, shower screens, and tiled surfaces all accumulate a white, chalky build-up that standard multi-surface spray will not shift. An acid-based limescale remover, applied generously and allowed to work before scrubbing, is the only reliable approach.
Grout, Mould, and the Shower Screen – The Holy Trinity of Bathroom Grief
Three elements in the bathroom account for a disproportionate share of end of tenancy disputes: blackened grout, mould along the sealant lines, and the shower screen. Grout can often be restored with a dedicated cleaner and a stiff brush – a steam cleaner is particularly effective here. Mould on sealant is more difficult; a bleach-based mould remover applied carefully and left overnight can produce good results, but heavily moulded sealant may need to be noted as a pre-existing maintenance issue rather than addressed as a cleaning matter. The shower screen responds best to a proper limescale remover, a microfibre cloth, and considerably more patience than the task initially appears to demand.
Step 4 – Bedrooms (Deceptively Dusty, Surprisingly Detailed)
Bedrooms are not the easy rooms. The correct sequence is wardrobes and built-in storage inside and out, then skirting boards, then window sills and curtain rails or blinds, then windows, and finally floors. The details carry more weight than they might appear to – dust settles on top of door frames, light switches accumulate fingerprints, and the area around the bed tends to harbour considerably more grime than its modest appearance suggests.
Check under the bed. Always check under the bed. And move furniture away from the walls to clean properly behind and beneath it – inspectors are not generally persuaded by a well-vacuumed central carpet flanked by a suspicious ring of undisturbed dust at its edges.
Step 5 – Living and Dining Rooms (The Room That Hides in Plain Sight)
The living room frequently looks clean at a casual glance, which is precisely why it is so consistently under-cleaned. Work through it in order: dust all high surfaces and shelving, clean skirting boards, address any marks on the walls, clean windows and window sills, wipe down radiators (which are forgotten with impressive regularity), and then tackle the floors – vacuuming before mopping if the surface is hard. Move the sofa. Move the bookcase. Move anything that can reasonably be moved. A thorough inspection covers behind the furniture, not just the visible floor in the centre of the room.
Step 6 – Hallways, Stairs, and Communal Areas (The First Impression Room)
The hallway is the first thing a landlord or letting agent sees when they step through the front door, and first impressions carry a weight that is disproportionate to their logical importance. Clean the staircase from top to bottom, wipe the banister rail, clean the interior surface of the front door, address the letterbox, wipe down coat hooks, and pay attention to light switches throughout the property. For tenants in flats, it is worth consulting the tenancy agreement to confirm what communal area responsibilities apply – this varies considerably between London properties and individual AST arrangements.
Step 7 – Floors Last, Always (The Final Act)
In every room without exception, the floor is cleaned last. Vacuum or sweep before any mopping, and work from the far corner of each room back towards the doorway so that you are never stepping on a surface you have just cleaned. For carpets, check the tenancy agreement specifically for professional carpet cleaning requirements – it is a common clause in London leases and one that catches a number of tenants by surprise when it surfaces during a deposit dispute.
When to Call in the Professionals (And Why London Tenants Often Do)
A thorough end of tenancy clean, carried out correctly and in the right sequence, is entirely achievable without outside help – but it demands a full day, the correct equipment, and a level of energy that the moving process does not always leave intact. Professional end of tenancy cleaners bring industrial-grade products, a practised attention to the details that inspectors focus on, and the methodical efficiency that comes from working across properties of every size and condition throughout Greater London every single day. A professional clean receipt can also serve as meaningful supporting evidence should a deposit dispute arise – deposit protection schemes recognise it as a genuine record of the property’s condition at the point of handover, and it is a document worth having to hand.